Golf Bag Accessories & Attachments: Complete Guide to Essential Add-ons
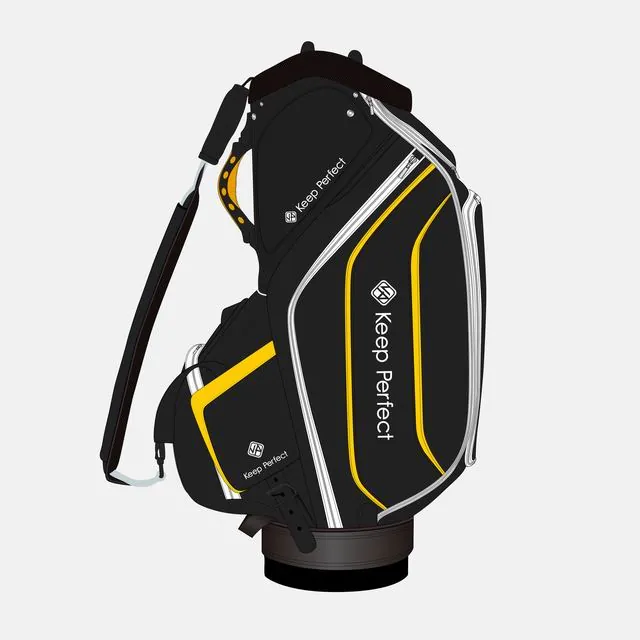
Attachments are the accessories that physically clip, hang or mount onto your golf bag — a rangefinder mount, towel ring or magnet, tee holder, putter tube, cart hook and rain-cover attachment — and the handful that you actually use measurably speed up your round by putting frequently needed gear within arm's reach, without modifying or damaging the bag. This guide covers the attachment types worth adding, how they install, how to keep your bag unharmed, and how to choose the right mount points for cart versus stand bags so every attachment works with the bag rather than against it.
What Counts as a Golf Bag Attachment?
An attachment is any accessory that mounts to the outside or edge of the bag, as opposed to storage that lives inside pockets. Common examples include rangefinder mounts, towel rings and magnets, tee holders, putter tubes, cart hooks, tag holders, and the clip points for rain covers. Attachments exist to put the items you reach most into fast, visible, hands-free positions.
The distinction matters because attachments are judged by fit and placement, not just value. A great attachment disappears into the bag's layout, sitting exactly where you reach without interfering with club access or balance. A poorly placed one dangles, tugs at straps or crowds the divider top, and undermines the very organization you bought it for.
Starting with a clear idea of which items you reach most — ranging from your rangefinder and towel to tees and a putter — tells you which attachments to prioritise. The rest are optional and often end up unused.
The Most Useful Attachments
A handful of attachments earn their place on nearly every bag. A rangefinder mount keeps your distance device attached at hand level instead of buried in a pocket, saving seconds every hole. A towel ring or magnet keeps a towel clipped to the outside where it stays dry and available. A tee holder tube dispenses tees with one pull, and a putter tube keeps your most-used club secure and instantly reachable.
Cart hooks and accessory clips secure gloves, towels, bags and rangefinders to the cart itself, which riders especially appreciate. Finally, a rain-cover attachment point keeps your cover secure in wind so it protects clubs and bag fabric during a downpour. Each of these is small, cheap and delivers fast, tangible value.
Choose the subset that matches how you actually play. A walker values a light towel ring and putter tube; a rider values the cart hook and rangefinder mount; a wet-climate golfer values the rain-cover attachment. Match attachments to your dominant conditions and you get the most function per dollar.
| Attachment | Mount Type | Best For | Note |
|---|---|---|---|
| Range finder mount | Clip / magnet / loop | Riders, frequent users | Must hold firm on cart rides |
| Towel ring / magnet | Clip / magnet | Everyone | Keeps towel dry and reachable |
| Tee holder tube | Clip | Everyone | One-pull tees, easy restock |
| Putter tube | Slot attachment | Walkers | Protects and secures putter |
| Cart hook | Clamp | Cart riders | Secures gloves, towels, devices |
| Rain-cover clip | Hook / loop | Wet-climate players | Secure in wind |
How Attachments Install
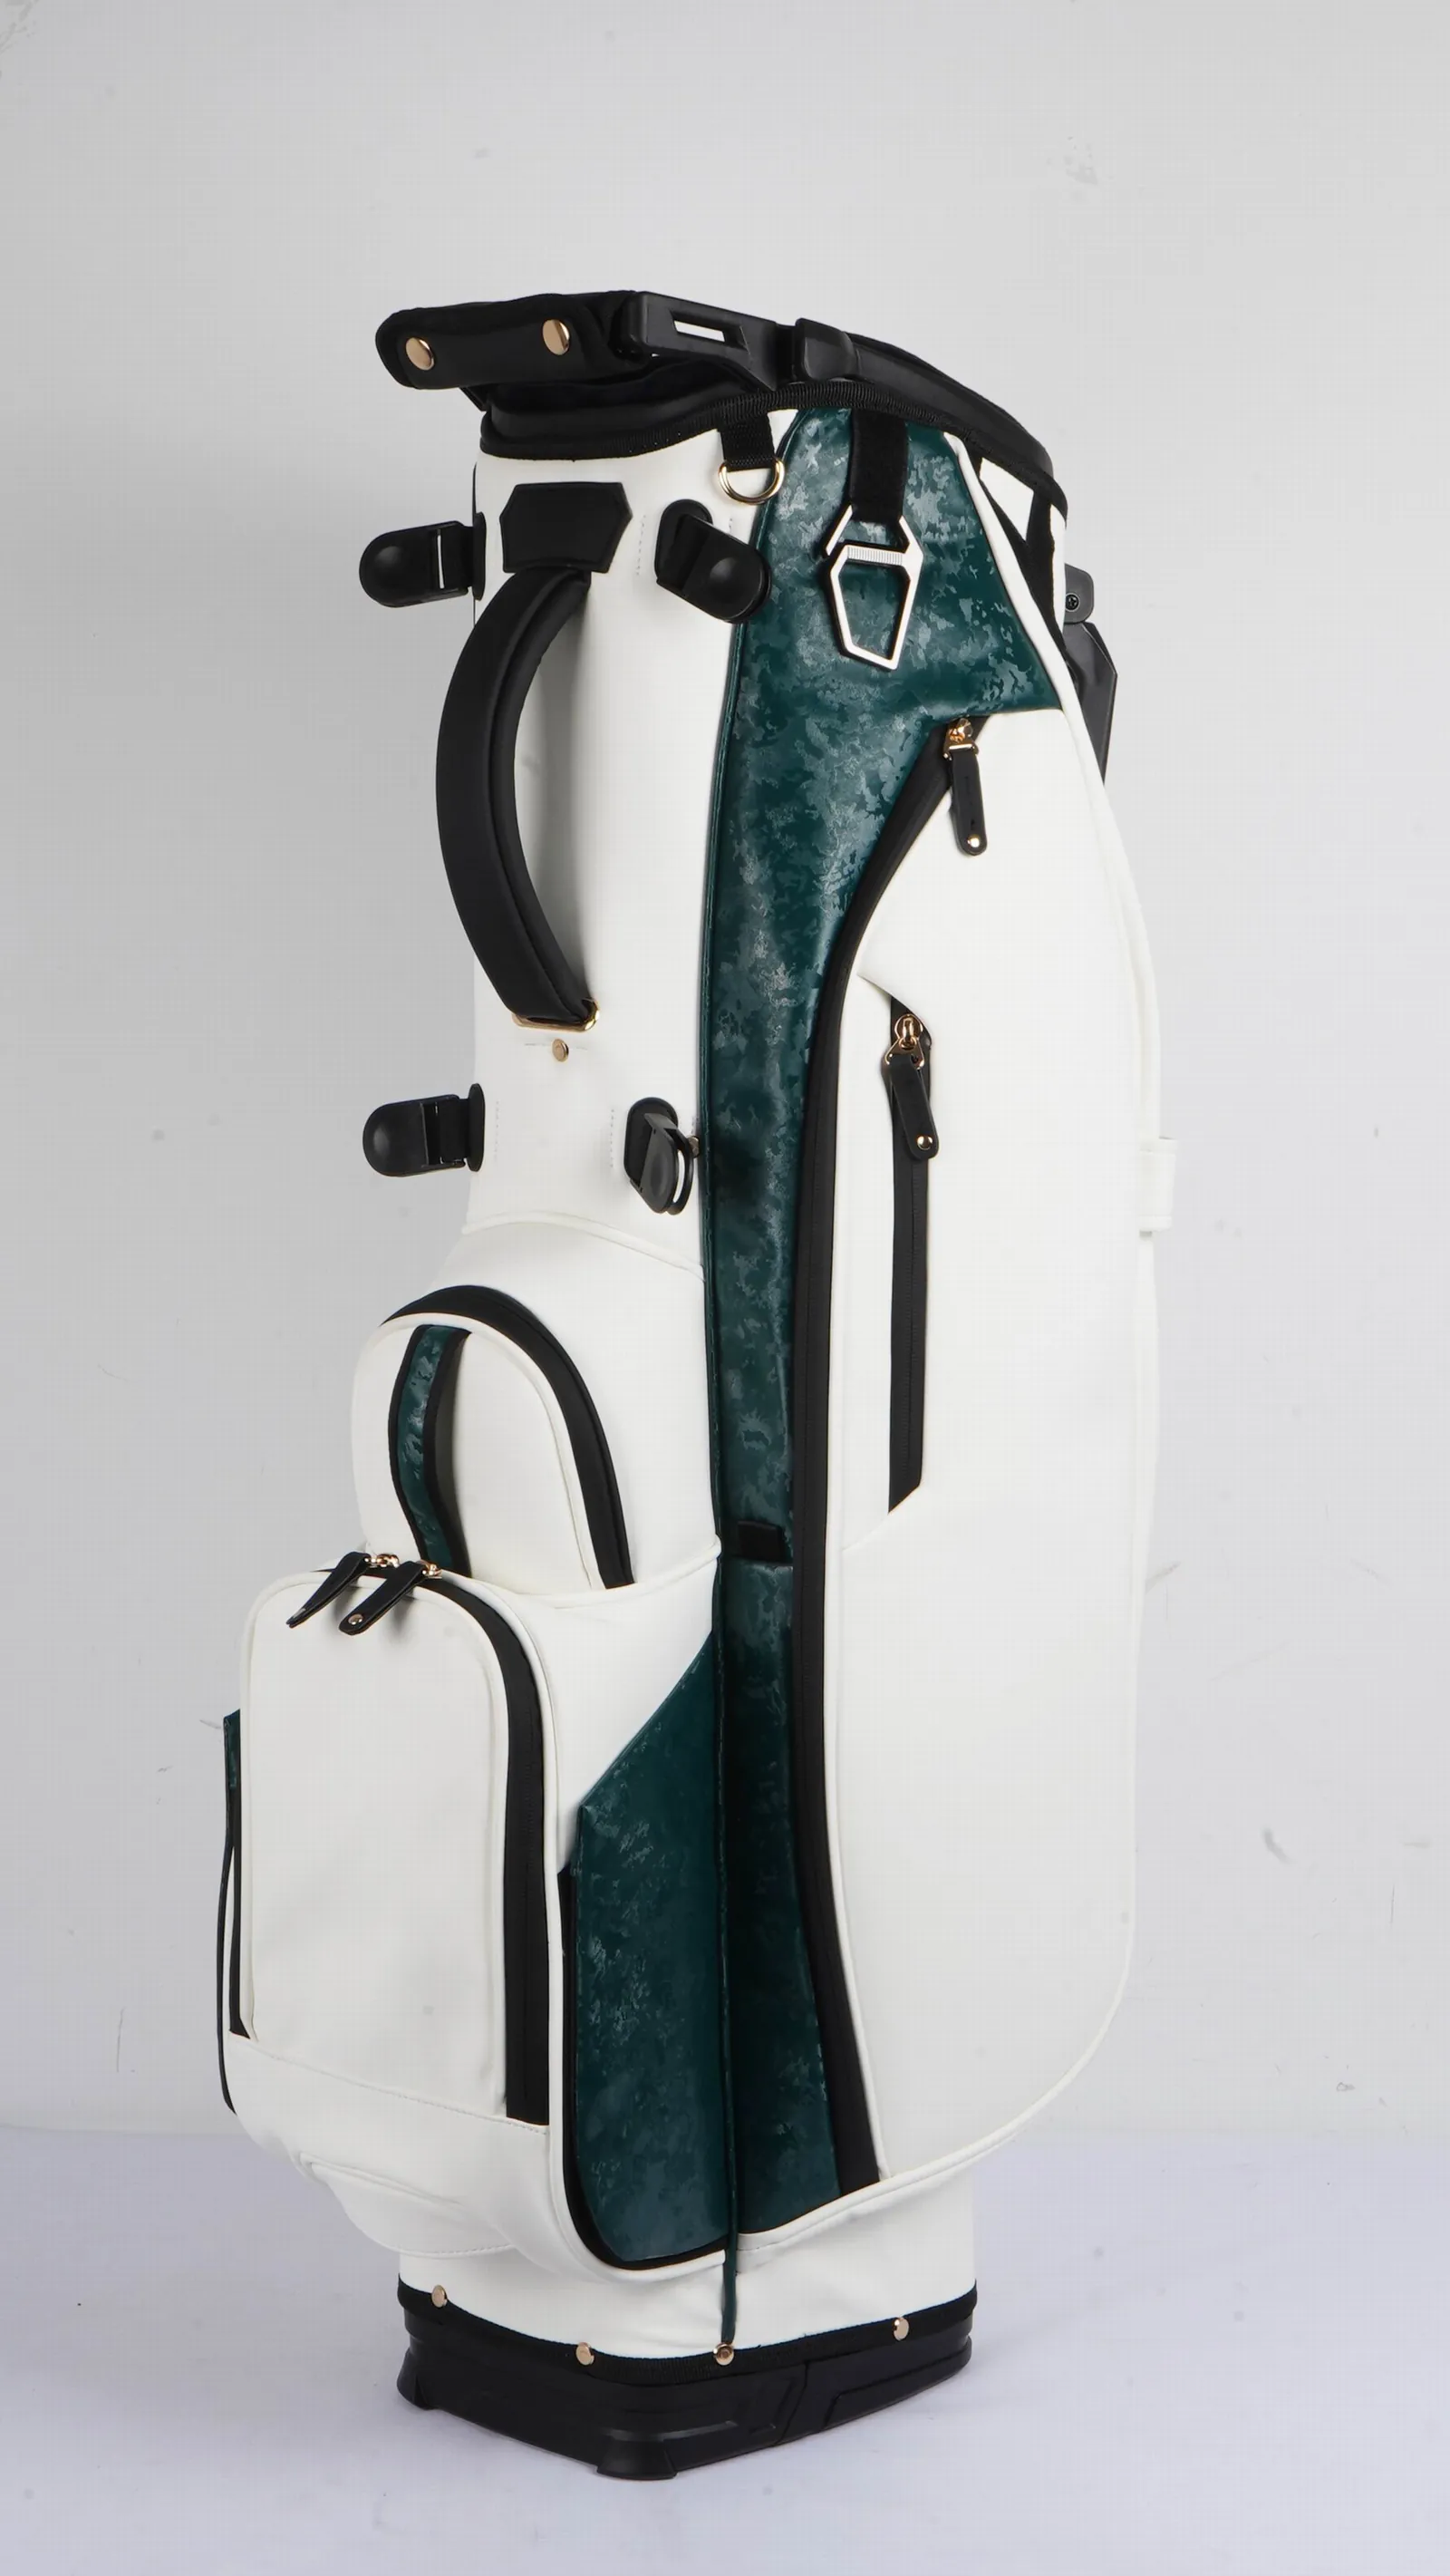
Most attachments install in minutes with no tools. Clip-on and magnetic items attach to a dedicated mount point or a strong point on the bag. Sleeve-type putter tubes drop into the divider top. Compression-strap organizers wrap around a strap or a bulky part of the bag. Cart hooks clamp onto the cart's frame. Read the installation note first to match the correct mounting approach.
After installing, verify the attachment holds its position under a full bag and, for riders, a cart ride. Tighten clips and straps, and re-check after the first few uses while fitting settles. An attachment that works loose mid-round is worse than none because it distracts and can damage gear.
Keep installation simple. Favour attachments that mount without modification — drilling or cutting the bag shell can void the warranty and weaken the structure. In our experience building bags at the factory, the mounts and loops we build into the design are exactly where most clip-on accessories are meant to go, so use them rather than improvising new attachment points.
Mount Points and Compatibility
Compatibility is the difference between an attachment that works and one that fights your bag. Check your bag's specific mount points: loops, reinforced webbing, magnetic points, dedicated clips and compression straps. Then match the attachment to the mounting style your bag offers, rather than forcing a generic fit that only half-secures.
Cart bags have cart-specific rigging, offset handles and front-facing mount points designed for riders, while stand bags prioritise light, balanced placement and carry-compatible attach points. Choosing attachments matched to your bag type matters as much as the attachment itself. For a closer look at the cart-bag specifics, our guide to cart-bag-compatible accessories covers the fit in depth.
If you are never sure an attachment will fit, check the manufacturer's compatibility notes or ask before buying. A short check is cheap insurance against a bag of incompatible parts that never worked.
Keeping Your Bag Undamaged
Attachments built to mount cleanly do not damage the bag. Favour clip-on, magnetic and compression designs that grip without cutting or puncturing the shell. Avoid drilling, cutting or using glue that can weaken the bag's structure, compromise zippers or void the warranty. A no-modification installation preserves your bag's looks, function and resale value.
Regularly check the mount points for wear — straps, loops and clips take stress when new hardware is added. Tighten as needed and remove any attachment that starts to abrade the fabric or interfere with club access. Catching small wear early prevents larger problems and keeps both bag and attachments performing.
This is also why rugged, reinforced mount points matter in factory construction. When you source bags that build durable loops and mounting hardware into the design, clip-on attachments stay secure for years, which is a quieter but real part of overall bag quality.
Cart Versus Stand Bag Attachments
How you bring the bag to the course should shape which attachments you use. On a cart, the bag sits tilted toward you, so front-facing mount points for a rangefinder, towel and cart hooks are the priority, and heavier attachments are fine because the weight is carried. Riders can attach more because balance matters less.
Walkers need attachments to be light and balanced so the bag rides comfortably on the back. Favour a minimum of well-placed attachments — a towel ring, a putter tube, a tee holder — and keep heavy items low to preserve balance. An over-attached walking bag picks up weight and noise with every stride.
If you mix riding and walking weeks, keep the core attachment set (towel ring, tee holder) consistent between setups and change only the rider-specific ones (cart hooks, heavier rangefinder mounts). Consistency keeps your system learnable while the transport-specific attachments adapt to the round.
Avoiding Attachment Overload
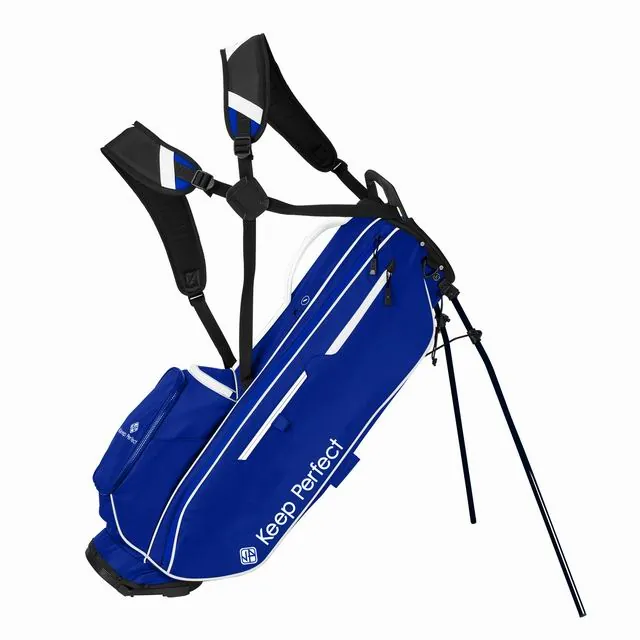
It is easy to over-attach: every nook of the bag gets a clip, hook or holder until the bag looks like a gear shop and your clubs are hard to reach. The honest test is usage — if an attachment has not earned its place in your last five rounds, remove it. Keep attachments purposeful and sparse so the bag stays usable.
Too many attachments also add weight, catch on doors and cart frames, and tangle straps and towels. For walkers especially, every extra ounce and every dangler works against you on the course. A lean, well-chosen set of three or four attachments beats a bag overloaded with clever but unused gear.
Place each attachment where it does not interfere with club access at the divider top or the reach of your most-used pockets. Good placement is as important as the attachment itself, and it keeps the bag both organized and fast.
Factory-Built Attach Points and Custom Options
The most reliable attachments are the ones the bag was designed to accept. In production, factories build reinforced mounting loops, magnetic points, compression straps and dedicated clip anchors into the pattern so aftermarket and custom accessories fit perfectly. When a bag's mount points are engineered, attachments stay secure and the bag looks integrated rather than tacked-on.
If you source bags for a brand, you can specify the mount points you want — how many, where they sit and what hardware they accept — so your accessory line integrates cleanly. Customizing the mount layout at the factory is far more effective than retrofitting later. Our custom OEM/ODM services can build an accessory-ready bag with the exact attach points your range needs.
This factory-level view is why matching attachments to bag design matters so much: a bag and its attachments that share the same engineering fit and finish are a stronger, more premium product than a bag plus a pile of separate parts.
When you plan an accessory-ready bag, think about how the mount points will be used over the product's life, not just on day one. Everyday clips and magnet points should sit at natural reach, survive hundreds of attachments without loosening, and be easy to replace if they wear. Reinforced stitching, welded loops and high-grade magnets all raise how long a bag keeps its accessory setup working, and they are a genuine quality difference customers notice once they keep extras on the bag for a season.
Consider also the pockets around the mount points. A rangefinder mount is far more useful when the device has a lined, protective pocket directly beneath it, and a towel ring earns its place when the reach to the towel is short and free of snags. Designing the pocket map and the mount layout together is what produces a bag where accessories feel native rather than bolted on, and it is exactly the sort of detail a best-in-class product is built on.
Maintaining Your Attachments
Attachments benefit from the same light care as the bag. Wipe clips and hooks after dusty rounds, check for wear on straps and loops, and tighten anything that works loose. Remove and shake out magnets and clips occasionally so grit does not build up and impair the grip. Replacing a worn clip is cheap; letting one fail mid-round is not.
When you clean the bag, detach removable accessories so you can reach the fabric and zippers beneath, and dry everything fully. A well-maintained set of attachments lasts years and keeps your system reliable. Pair this with the wider golf bag care routine and your whole setup stays in top shape.
Finally, revisit your attachment set at the change of seasons. Swap weather-dependent pieces in and out — rain-cover clips in wet months, cart hooks on the days you ride — so the bag stays light and purposeful for the season you are playing.
Building a Layered Attachment System
The most effective way to think about attachments is as a layered system rather than a collection of parts. Layer one is always-with-you items — towel, tees, ball marker and putter — that belong in fixed, fast positions no matter how you play. Layer two is transport-specific gear: rangefinder mounts and cart hooks for riding days, light balance-preserving holders for walking days. Layer three is seasonal and situational attachments like rain-cover clips in wet months.
Layering keeps the core bag identical and stable from round to round, which is what makes the system learnable. When you reach for a tee and it is always in the same holder, you stop thinking about where things are and start thinking about the shot. That consistency is the real payoff of good attachment design, and it applies whether you are a weekend golfer or someone who plays twice a week.
Define your own layers on a small checklist: core (never leave home), seasonal (swapped by conditions) and situational (added when you ride or walk). Review the layers a few times a year and adjust as your habits change. A layered system is the difference between a bag that works and a bag that is merely full of tools.
When you build layers, also consider how attachments interact with one another. A towel ring on one side, a rangefinder mount on the other, and a tee holder on the front keeps each reach in a distinct zone instead of crowding every item into one corner. Spreading attachments across the bag's natural reach zones reduces fumbling and keeps the divider top clear for clubs. Think of the bag as a cockpit where every zone has one job.
Think of zones as front, sides and lower body. The front face, which you see first when the bag is on a cart, holds the rangefinder, tees and glove. The sides hold the towel ring and a sleeve for the putter cover or an umbrella. The lower body and straps support compression-strap organizers for rain gear and larger items. Assigning each layer to a zone keeps reach predictable, so the bag stays fast whether you are playing casually or in a serious round that demands quick, confident access to everything on the bag.
Common Attachment Mistakes and How to Fix Them
The most common mistake is buying attachments without checking fit, then forcing them onto a bag they were never meant for. The fix is to read the compatibility notes, measure mount points beforehand, and return anything that does not fit cleanly rather than improvising a permanent fix. A loose or jerry-rigged attachment is a future problem.
Another frequent misstep is placing attachments where they interfere with club access. Placing a rangefinder mount or cart hook right at the divider top crowds your reach into the bags for your most-used clubs. Move attachments to the sides, front face or lower strap areas, and reserve the top edge for club access and the putter slot. When in doubt, sit the bag beside you as you would on a cart and check every reach.
Weight neglect is a third mistake, especially for walkers. Adding a heavy mount, a full cooler and several hooks can quietly add significant weight to a bag meant for carrying. Weigh the bag before and after your attachment set, keep walker-oriented weight low, and accept that strongly, riders can carry more but walkers should stay lean. The final common error is failing to maintain attachments — letting clips corrode, straps fray and magnets fill with grit until they fail. A quick seasonal check prevents almost all of it.
A Step-by-Step Installation Walkthrough
To get attachments right the first time, follow a short, repeatable process. Step one, confirm compatibility by matching the attachment's mounting style to a specific point on your bag — a clip needs a loop or a lip, a magnet needs a metal point, a compression strap needs a strap or bulky section. Never guess; hold the piece to its intended spot before attaching.
Step two, orient the attachment for one-handed use. Before you fasten it, put the bag where it sits in play — on a cart for riders, on the ground or your back for walkers — and test the natural reach. Adjust the angle so the towel, tees or rangefinder come to hand without a sideways shimmy. Step three, fasten firmly: clip fully, magnet seated, compression strap snug but not crushing the bag's fabric.
Step four, test under load. Load the bag to full, take it for a short ride or a few carry steps, and check every attachment holds. Tighten anything that works loose, and re-check after the first two or three rounds while the fittings settle. Step five, note the layout — a photo of your final attachment map makes re-setting the bag after a deep clean quick and consistent. Following this walkthrough converts a bag full of parts into a fast, reliable cockpit.
Conclusion
Attachments are the small, high-value additions that put the gear you reach for most within arm's reach, provided you choose them to match your bag's mount points and your playing style. Start with the essentials — a rangefinder mount, a towel ring, a tee holder, a putter tube and a rain-cover clip — install them without modification, and keep them purposeful and sparse.
Match attachments to whether you ride or walk, use the factory-built mount points, and care for both bag and attachments consistently. Do that, and your bag becomes faster, better organized and more enjoyable to use round after round. To explore bags built with the right attach points, see our products, and for a broader accessory view, our accessories organization tips are an excellent companion guide.
Sources
Frequently Asked Questions
- What are the most useful golf bag attachments?
- A rangefinder or GPS mount, a towel ring or magnet, a tee holder, a putter tube, a cart hook and a rain-cover attachment — each putting a frequently used item within reach.
- How do I attach accessories to my golf bag?
- Most attach to a fixed clip, magnetic point, secure hook, compression strap or dedicated loop. Tighten clips and straps, and verify they hold under a full bag and a cart ride.
- Can I attach accessories to any golf bag?
- Most modern bags have mounting points for clips, magnets and hooks, but capacity and location vary. Check your bag's mount points and favour attachments designed for your bag type.
- Do attachments damage golf bags?
- Correctly installed clip-on and magnetic attachments do not. Avoid drilling or modifying the shell, which can void the warranty and weaken the structure.
- How many attachments are too many?
- Keep attachments to the ones you use and place them away from club access. Too many add weight and clutter and can tangle straps and towels.
- Are attachments different for cart versus stand bags?
- Yes. Cart bags have cart-specific mount points and can carry more, while stand bags prioritise light, balanced placement for walking.